


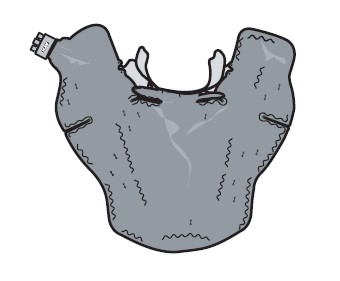
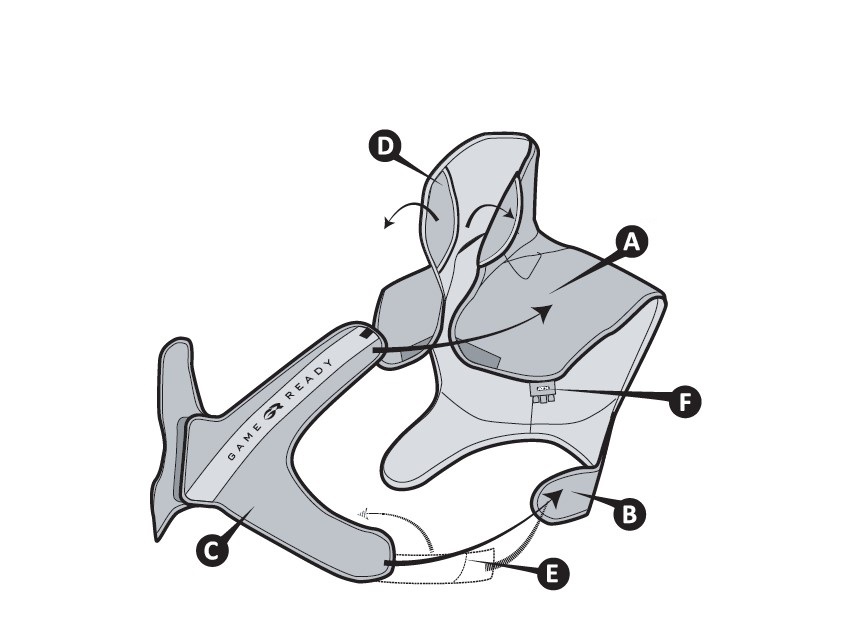
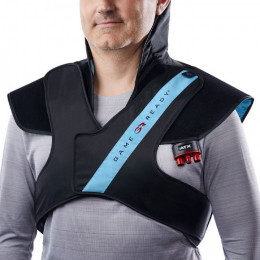
Housse pour Enveloppe Cervico-Dorsal - GameReady
194,00 €
SAV INTERNE
à votre écoute du lundi au vendredi 9h à 17h00
PAIEMENT
100% SÉCURISÉ

Accessoires
Vous aimerez aussi
 -15%
-15%
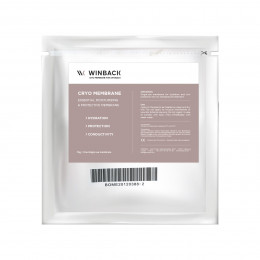
Membrane CRYO pour CRYOBACK (lot de 10 unités) - Winback
Membrane à usage unique pour une hydratation et une protection cutanée pour...
60,00 €
-15%
51,00 €
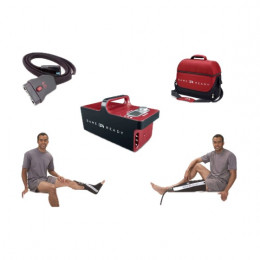
Pack Professionnel - Cryothérapie compressive GameReady
Le pack PRO Game Ready permet d'associer la cryothérapie et la...
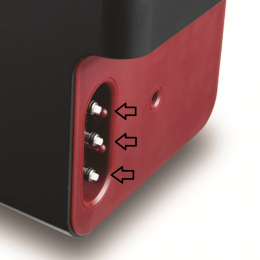
Joints d'étanchéité pour unité centrale GameReady
Joints d'étanchéité situés en façade sur l'unité centrale de cryothérapie...
63,00 €
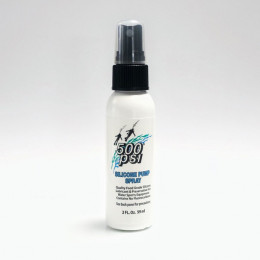
Spray en silicone pour joint torique GameReady
Spray en silicone (flacon de 59 ml) pour joint GameReady. Le spray est...
15,00 €
De même marque et catégorie
Batterie rechargeable pour dispostif GameReady
La batterie rechargeable GameReady dispose d'une autonomie de 6 à 8 heures...
412,00 €
Connecteur - cordon simple cryothérapie GameReady
Connecteur simple pour GameReady. Permet de relier l'appareil aux différents...
226,00 €

10 jours : location Cryothérapie Gameready en post-op immédiat
Votre chirurgien vous recommande Game Ready pour votre prise en charge...
245,00 €
 - 77,00 €
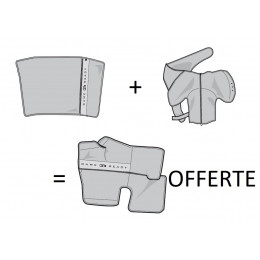
EXPERT2 : 2+1 housses offerte (genou,épaule G,cheville) - GameReady
Avec le lot EXPERT2, bénéficiez d'une housse de cheville OFFERTE , avec...
242,00 €
-77,00 €
165,00 €
Spray en silicone pour joint torique GameReady
Spray en silicone (flacon de 59 ml) pour joint GameReady. Le spray est...
15,00 €

Joints d'étanchéité pour enveloppe anatomique GameReady
Joints torique d'étanchéité situé sur l'embout connecteur des enveloppes de...
84,00 €
 -10%
-10%
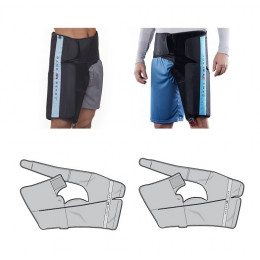
Lot de 2 housses de hanche (gauche & droite) - GameReady
Lot de deux housses de rechange pour enveloppe de hanche Gameready;...
176,00 €
-10%
158,40 €
Joints d'étanchéité pour unité centrale GameReady
Joints d'étanchéité situés en façade sur l'unité centrale de cryothérapie...
63,00 €