
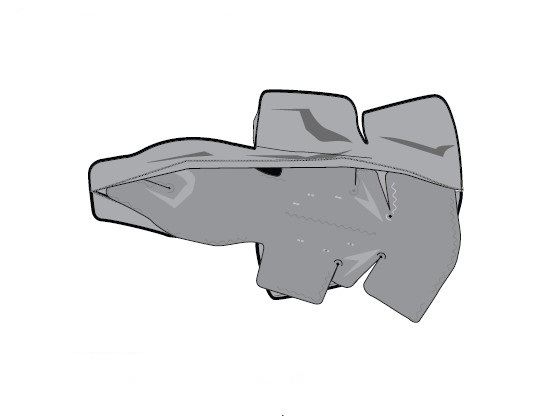
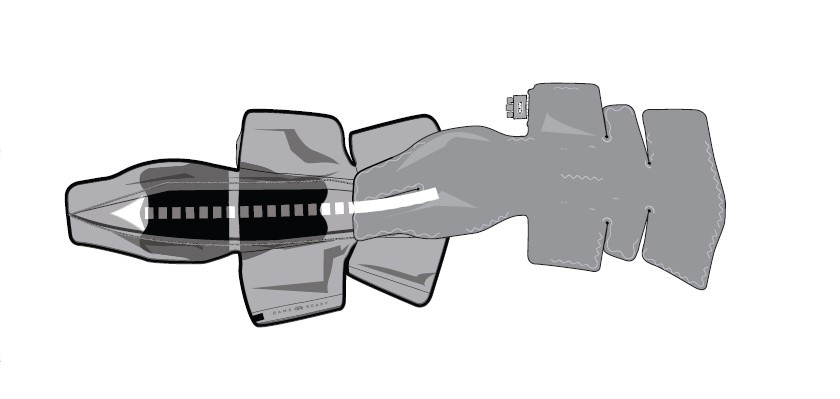
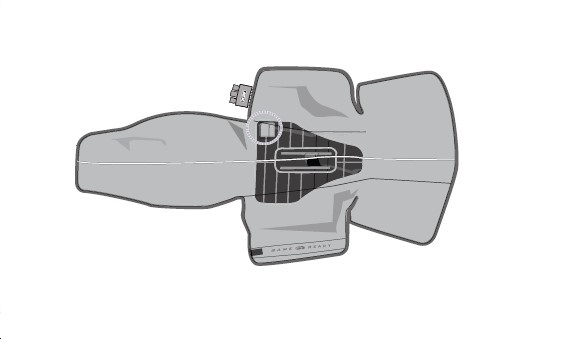
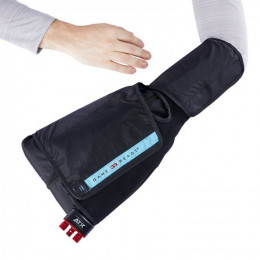
Sleeve for hand/wrist wrap - GameReady
€88.00
CUSTOMER SERVICE
at your service Monday to Friday from 8:30 to 18:00
PAYMENT
100% SECURE
Accessories
You will like too
 -10%
-10%
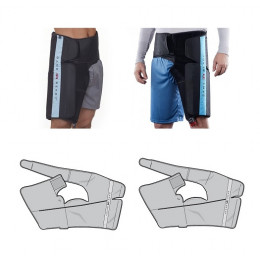
Set of 2 hip sleeves (left & right) - GameReady
Pack of two replacement sleeves for Gameready hip wraps; take advantage of a...
€176.00
-10%
€158.40
 - €77.00
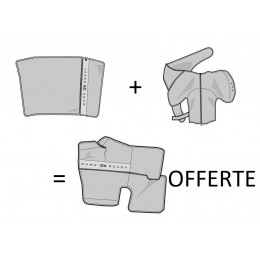
EXPERT2 : 2+1 free sleeve (knee,shoulder G,ankle) - GameReady
With the EXPERT2 pack, get an ankle sleeve FREE with the purchase of a...
€242.00
-€77.00
€165.00
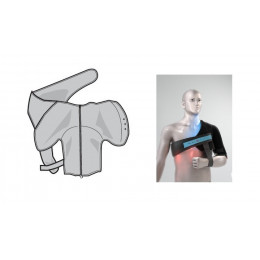
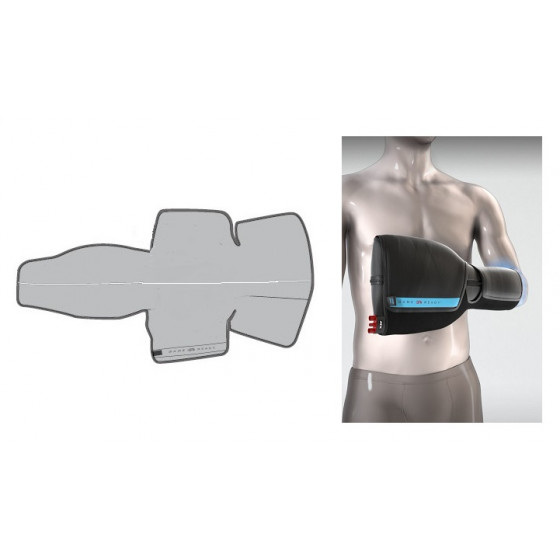
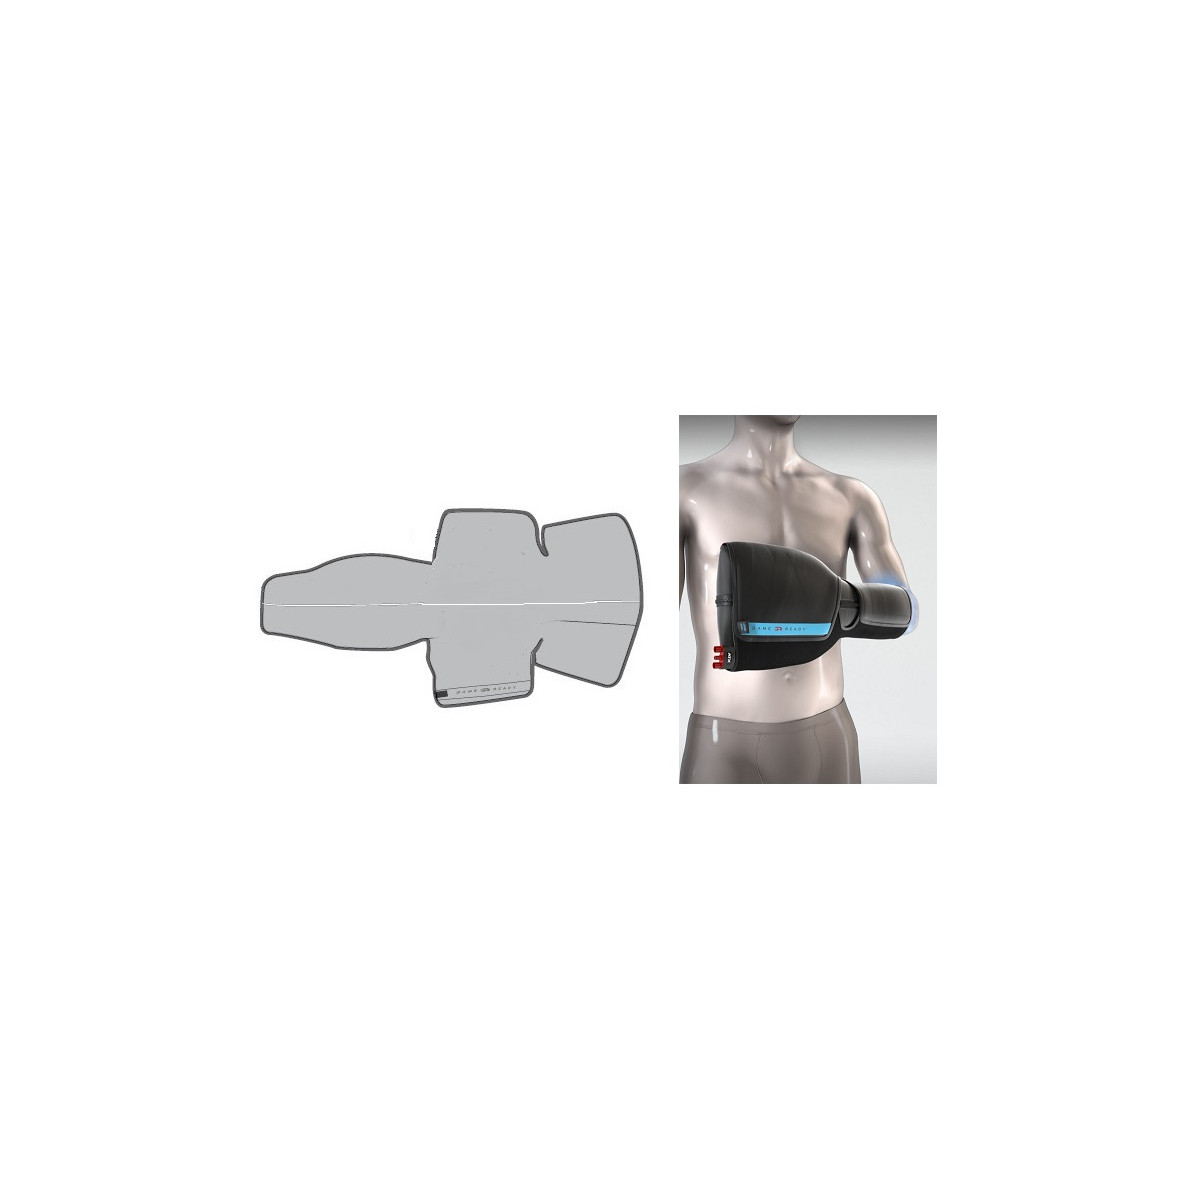
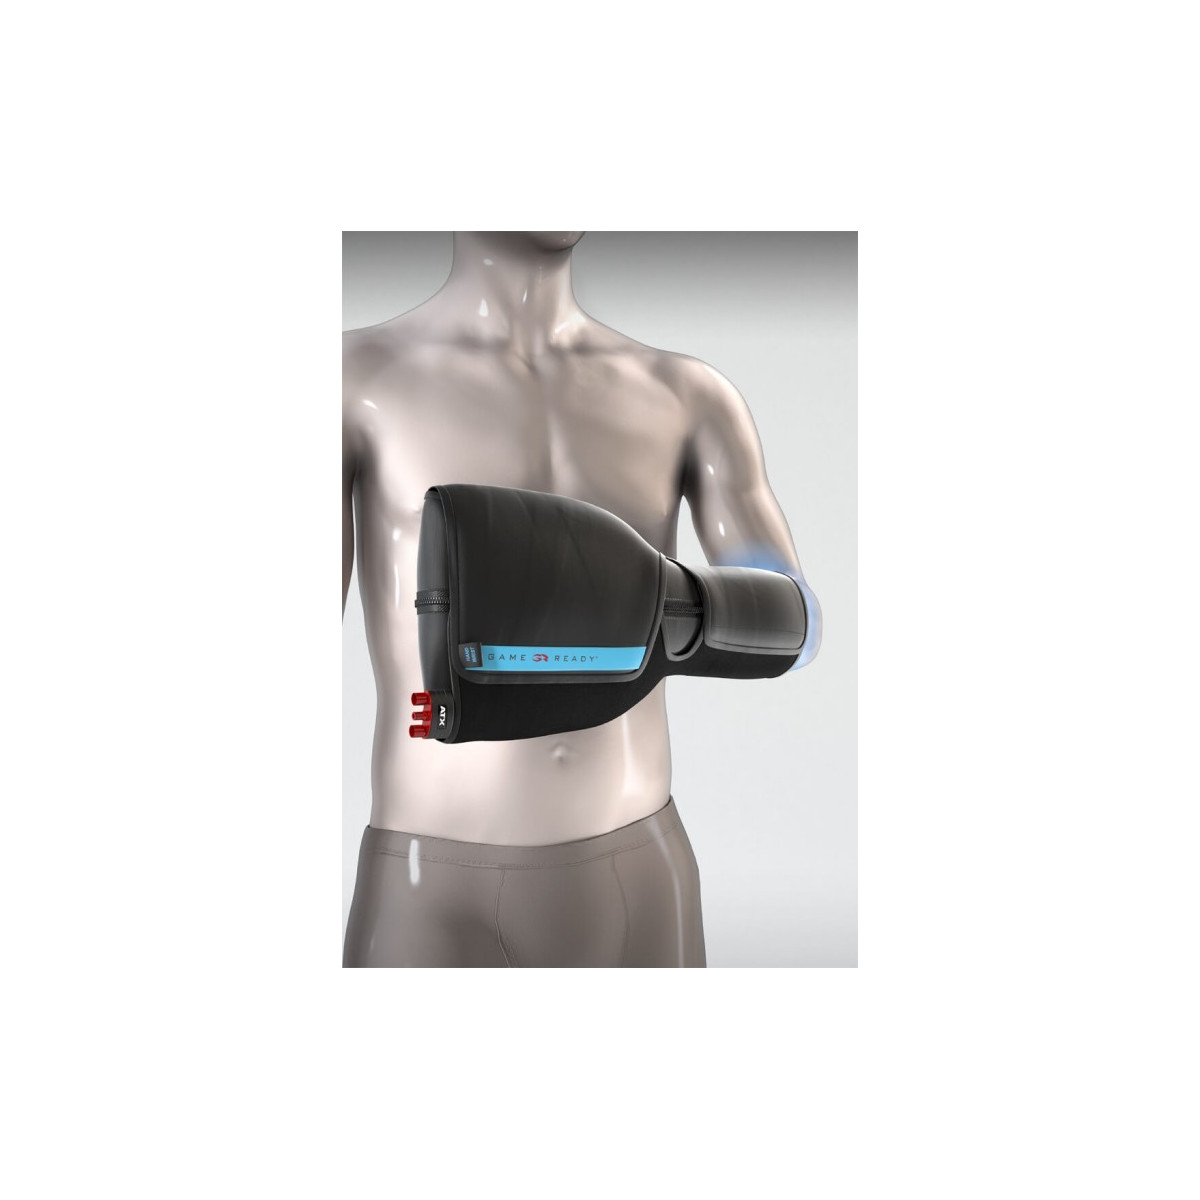
Sleeve for shoulder wrap - GameReady
Replacement Sleeve for shoulder wrap medium/large and right/left (ref....
€88.00
 - €77.00
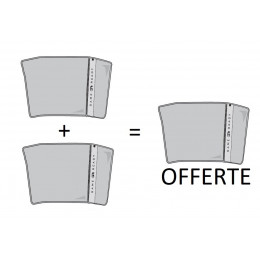
BASIC : 2 KNEE sleeves +1 free - GameReady
With the BASIC pack, get a third knee sleeve FREE with the purchase of two...
€231.00
-€77.00
€154.00
From the same brand and category
 - €77.00
EXPERT1 : 2+1 free sleeves (knee,shoulder Right,ankle) - GameReady
With the EXPERT1 pack, get an ankle sleeve FREE with the purchase of a knee...
€242.00
-€77.00
€165.00

Universal articulated knee sleeve - GameReady
Replacement sleeve for universal articulated knee (ref. 590160).
€77.00
- €77.00
EXPERT2 : 2+1 free sleeve (knee,shoulder G,ankle) - GameReady
With the EXPERT2 pack, get an ankle sleeve FREE with the purchase of a...
€242.00
-€77.00
€165.00

Sleeve for ankle wrap - GameReady
Replacement sleeve for large and extra-large ankle wraps (ref. 590330/590340).
€77.00
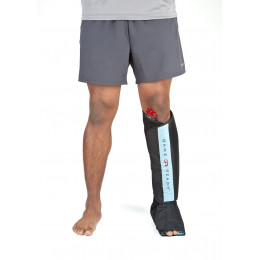
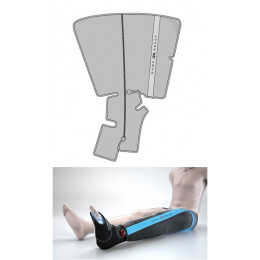
Half-boot sleeve (calf-ankle) - GameReady
Half-boot wrap sleeve (calf-ankle) - GameReady
€88.00
Sleeve for shoulder wrap - GameReady
Replacement Sleeve for shoulder wrap medium/large and right/left (ref....
€88.00
Full leg sleeve - GameReady
Replacement full leg sleeve for GAMEREADY. One size only.
€194.00
-10%
Set of 2 hip sleeves (left & right) - GameReady
Pack of two replacement sleeves for Gameready hip wraps; take advantage of a...
€176.00
-10%
€158.40
Related articles on blog
No related articles on blog